The Templates section in BcloudMail is your creative hub for designing and managing the emails you’ll send in your campaigns. This section is organized into three key areas: Ready-Made Templates, the Template Builder, and your Assets.
Accessing the Templates Page:
- Log in to your BcloudMail account at https://app.bcloudmail.com/login.
- In the main navigation menu, click on Templates.
Overview of the Templates Section:
Upon navigating to the Templates page, you’ll typically see tabs or sections for:
1. Ready-Made Templates:
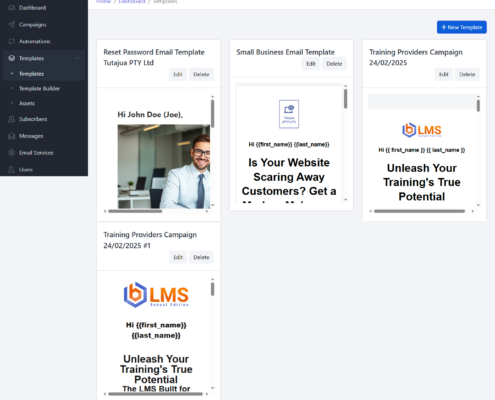
This page provides a library of pre-designed email templates that you can use as is or customize for your campaigns.
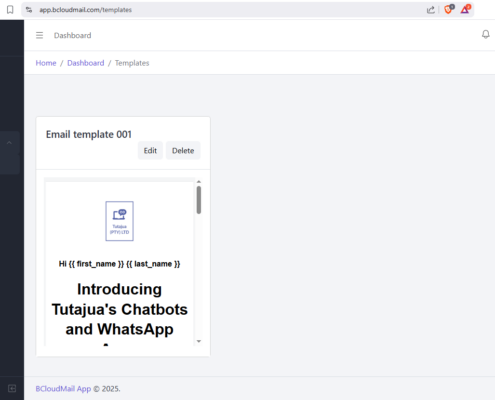
- Viewing Templates: You’ll see a list or grid of available templates, often categorized by purpose (e.g., newsletters, promotions, announcements).
- Previewing Templates: Each template will likely have a “Preview” option (usually an eye icon or a button) that allows you to see how the email will look to your recipients before you use it.
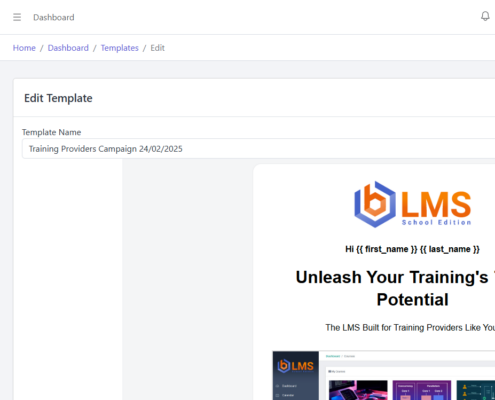
- Editing Templates: If you find a template that’s close to what you need, you can click the “Edit” option (usually a pencil icon or a button). This will open the template in the Template Builder where you can customize its content, layout, and design.
2. Template Builder:
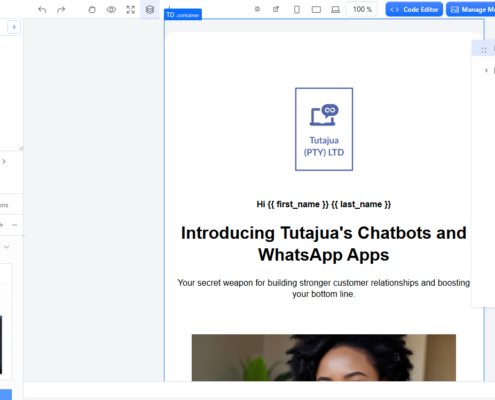
This is where you can create new email templates from scratch or customize existing ones. It offers two primary ways to design your emails:
- Visual Builder: This is a user-friendly, drag-and-drop interface that allows you to visually construct your email layout by adding and arranging various content blocks (text, images, buttons, dividers, etc.).
- Free Starter Templates: The Template Builder often includes a selection of free, basic templates that you can use as a starting point for your designs.
- Your Templates: This section within the builder will display all the custom templates you have created and saved.
- Link to Assets: The Template Builder will provide easy access to your Assets page, allowing you to insert images and videos directly into your email designs.
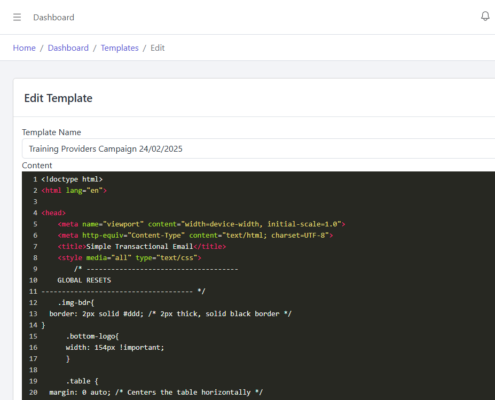
- Code Editor: For users with HTML and CSS knowledge, the Template Builder also includes a Code Editor. This allows you to directly manipulate the underlying code of your email template for more advanced customization. You can typically switch between the visual builder and the code editor.
Key Actions within the Templates Section:
Regardless of whether you are in the Ready-Made Templates or Your Templates section of the Template Builder, you will generally find options to:
- Create New Template: Look for a “Create New Template” or similar button. This will usually open a blank canvas in the Template Builder, allowing you to start designing from scratch.
- Clone/Duplicate Template: This option (often an icon with two overlapping squares) allows you to create an exact copy of an existing template. This is useful for creating variations of successful emails or for using a template as a starting point without modifying the original.
- Delete Template: This option (usually a trash can icon) allows you to permanently remove a template from your account. Be cautious when deleting templates as this action cannot be undone.
3. Assets:
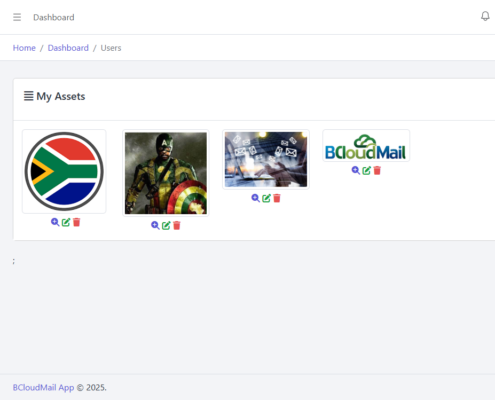
This page serves as your media library for your email templates.
- Uploading Assets: You can upload images (e.g., logos, product photos) and videos that you want to use in your email campaigns. Look for an “Upload Asset” or similar button.
- Organizing Assets: You may have options to organize your assets into folders or categories for easier management.
- Using Assets in Templates: Once uploaded, your assets will be accessible within the Template Builder, allowing you to easily insert them into your email designs.
The BcloudMail Templates section provides a flexible and powerful environment for creating visually appealing and effective email campaigns, whether you prefer using ready-made designs, a visual builder, or direct code editing, all while keeping your media assets organized.
